Estimated reading time: 6 minutes
Have you watched YouTube™ videos recently to learn more about a product? If so, did the videos influence your purchase decision? You are not alone if you answered “yes” to either of these questions. According to Google™, 68% of YouTube™ users watched YouTube™ to help make a purchase decision¹. As you know, videos provide advice, recommendations, and product reviews.
Now is the time to launch a YouTube™ channel for your small business or refresh your existing channel with new video content, updated links, and branding elements. These tasks might seem complicated and time-intensive, but they do not have to be. To help you better understand how to use YouTube™ for business, keep reading this blog post from Balboa Capital. It has the information and tips you need.
The power of video.
Video is one of the most effective ways to promote your small business and grow your brand. It allows you to showcase your products and services more personally. You can also use video to announce news, events, special promotions, or showcase video testimonials of satisfied customers.
As Internet bandwidth increases rapidly across the United States, small businesses in every industry use online video to promote their products and services. As a result, many small businesses have channels with tens of thousands of followers and thousands of video views.
Getting started.
You can skip to the next section if you already have a YouTube™ channel for your business. The first step in setting up your channel is to create a Google™ account. Then, visit the “account creation” page to get an account. In case you did not know, Google™ owns YouTube™, which is why this step is required.
Once you have a Google™ account, you will automatically have a personal YouTube™ account, but do not use this account for your small business. The reason is that you cannot customize your account with your business’s name or brand. So, visit your channels page and create a “Brand Account.” Your brand account name should be the name of your small business.
Customizing your YouTube™ channel.
Now that your brand account is set up, it is time to customize your channel. This is a critical task that can make or break your channel. If your channel does not mirror the look and feel of your brand, people might not find it in search. Moreover, if people find your channel devoid of branding or information, they will probably move on and not watch any of your videos.
Click on the “customize channel” link in the drop-down menu. Your channel will appear on-screen with visual cues that indicate what you can edit and customize to your liking. For example, you can add your logo (channel icon) and a banner image (channel banner), and recommended sizes and file formats appear on-screen for each.
Next, it is time to write a channel description. Next, you can write a brief bio of your small business and a welcome message. One popular strategy among small businesses is to include a mission statement. The final task is to add links to your website and social media profiles. Links are a great way to gain subscribers and generate traffic to your site.
Creating videos.
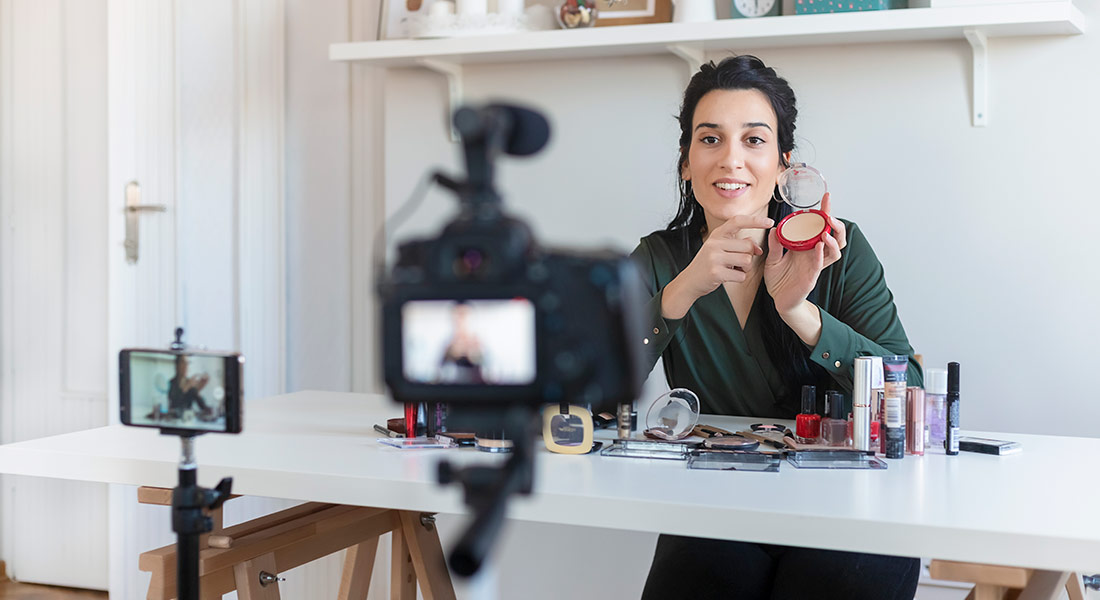
Contrary to popular belief, you do not need a full-blown production crew and fancy equipment to create videos for your business. Today’s smartphones and tablets are equipped with high-quality cameras and excellent microphones. There are also several budget-friendly action cameras to produce professional-looking videos. In addition, invest in a low-cost tripod or gimbal to keep your videos steady and even during the recording process.
Audio tips.
When testing your video playback, pay close attention to the audio quality. Unfortunately, many people stop watching videos with poor-quality audio or background noise. For example, suppose you are making a video with lots of camera movement, such as a product demonstration or a tour of your office. In that case, the audio might end up patchy or have inconsistent levels. To prevent this from happening, invest in an external microphone.
Outdoor lighting tips.
Perfect lighting can help set your videos apart and keep people watching them. Natural lighting usually works well outdoors, so long as the sun is not shining into your camera and causing sun flares or haze. If your video will feature someone talking outdoors, pick an area that does not have direct sunlight shining in their eyes, as this can cause them to look uncomfortable while speaking. A place with soft lighting is best.
Indoor lighting tips.
Indoor lighting can be tricky due to many different factors. First, the type of indoor light sources or light bulbs will directly affect the white balance in your video. In video recordings, LED, incandescent, and compact fluorescent lights deliver different color temperatures and color renderings. So, you might have what appears to be a perfectly natural-looking indoor setting with warm colors and end up seeing blue hues in your video playback.
Pick an area in your office with daylight bulbs to prevent this, as they deliver natural-looking light. If this is not an option, you can purchase inexpensive light kits in various sizes and applications. For example, some lights attach to computers, tablets, and action cameras. Continuous lighting kits cost more, but they deliver light to a larger space with more consistency.
Editing your videos.
Forget Hollywood! You can edit your YouTube™ videos on your computer with ease. Most computers come with free video editing software installed. These editing programs are basic, but they have all the bells and whistles you need to create an eye-catching and engaging video. You drag and drop your video footage, splice it where needed, adjust the audio level, and add text overlays and an intro and exit slide.
Exporting your videos.
YouTube™ accepts over ten different file formats, but the best options are .mov and .mp4 in high-definition (HD) video (1920 x 1080 px) at 30 frames per second (FPS). When exporting your video, use the 16:9 aspect ratio. Doing so will allow your video to look nice on desktop computers, smartphones, tablets, and the various social networks you promote the videos. For example, if you have an Instagram™ account, you need to create a shorter version of your video (60 seconds or less) to post on Instagram™.
Optimizing for search.
Once you have finished making a video for your small business, it is time to upload it to your YouTube™ channel. Simply uploading it will not ensure that people will find it, so here are some video optimization tips. Click the “upload video” button on your YouTube™ page and upload your video. The upload time will depend on the length of your video.
While your video is uploading, a “settings” window will appear. This is where you can add a video title, description, and a thumbnail preview that people see before clicking your video. In the advanced settings section, you can add tags (keywords that will help people find your video in search), the video recording date, and the video category.
Preview and publish.
Your YouTube™ video will not go live until you publish it. Once you have entered all the basic and advanced video settings and double-checked them for possible typos, choose an option from the list of privacy settings. Select the “publish” button and get ready to rack up views if everything looks good. You can promote your video by sharing it on social media – copy and paste the YouTube™ link.
Reference:
1. https://www.thinkwithgoogle.com/consumer-insights/consumer-trends/youtube-shopping-decision-statistics/
Balboa Capital, a Division of Ameris Bank, is not affiliated with nor endorses Google, YouTube, or Instagram. The opinions voiced in this material are for general information only and are not intended to provide specific advice or recommendations for any individual.